The letter C is for colors. We didn't focus on one color a day instead we did more mixing colors and using all colors to draw or paint. We will be going over individual colors later in the year.
Bible


We celebrated Little Dragons birthday. He had a superhero party. My sister and I drew faces on plastic cups then cut up fabric and put them on the cup with a rubber band for capes. They were awesome!


It was a favorite of ours when we were little. Kinda neat to play one of my childhood favorite games with my kids.
Do you play your favorite game with your kids? I would love to know what games you play!
This week was also Little Dragons birthday so we took some time to celebrate. We also included more Halloween fun too.
We did these activities about a month ago. I got behind on my blogging.

Our bible story this week is Joseph and the coat of many colors.
(You can also see our Chicka Chicka Boom Boom tree on the board that we added letters to for 2 weeks)
I read the story to the kids the first day. The second day I told the story with the magnets. The third day Little Dragon told a story or retold the bible story with the magnets. The fourth day we told the story together. I would read it from the bible and Little dragon would put the correct pieces in place.
Our bible verse was "We know that in all things, God works for the good of those who love Him" -Romans 8:28. The verse was longer in the original lesson plan but Little Dragon has a hard time remembering long verses so I shorten them a little. We will add on to them as he gets older.
Little Dragon liked this story and wanted to help Joseph when he was thrown in the pit. We talked about jealousy, anger, and love.
Alphabet
The letter C has many fun possibilities for preschool. This year we focused on colors to coincide with our bible story.
During circle time I introduced the letter and we talked about words that start with 'c'. Our motion this week is making a 'C' with your hand saying 'c-c-C'. It looks like you are holding a cup when you make the letter c with your hand so we would drink out of our 'c-c-cup' after saying/doing our motion.
In the Letter C folder there Little Dragon painted c's different colors.

He colored his big C for the alphabet wall in a rainbow of colors.


The alphabe notbook also had cutting activites and a cat activity.
Crafts
Coat of many colors


Materials
- Paper grocery bag
- Masking tape
- Paint
- Scissors
I cut a head hole in the top of the bag then slipped it on the boys so I could measure where to cut the arm holes. Then I taped horizontal stripes down the back of the bag. The front had the grocery story logo on it.
Next the boys painted each line a different color. Once it as dry they put them on. You can take off the tape, I left the tape on. No reason.
This craft went with this weeks bible story. We listened to worship music while the boys danced wearing their coat of many colors. We also read the story of Joseph again while wearing the coat.
If you have more kids in your class you could have the kids play out the story or have a coat of many colors fashion show.
Modern Art


Materials
- Canvas
- Primary paint colors
- Thin painters tape
- Paint brush
We received all materials needed in our Kiwi Crate. (Click here to learn more about Kiwi Crate). The crate also provided mini easels for the kids to use for their painting.
First you place tape in straight lines on the canvas. The kids placed the tape where they wanted which created random cut off lines :).
Then you pick a color and paint a section between tape. Repeat until all spaces are painted.
When it is dry remove the tape to reveal your masterpiece.
We had Doll Dragon for the day for this activity. She really enjoyed mixing the primary colors to make the colors she desired.


Cat Pencil
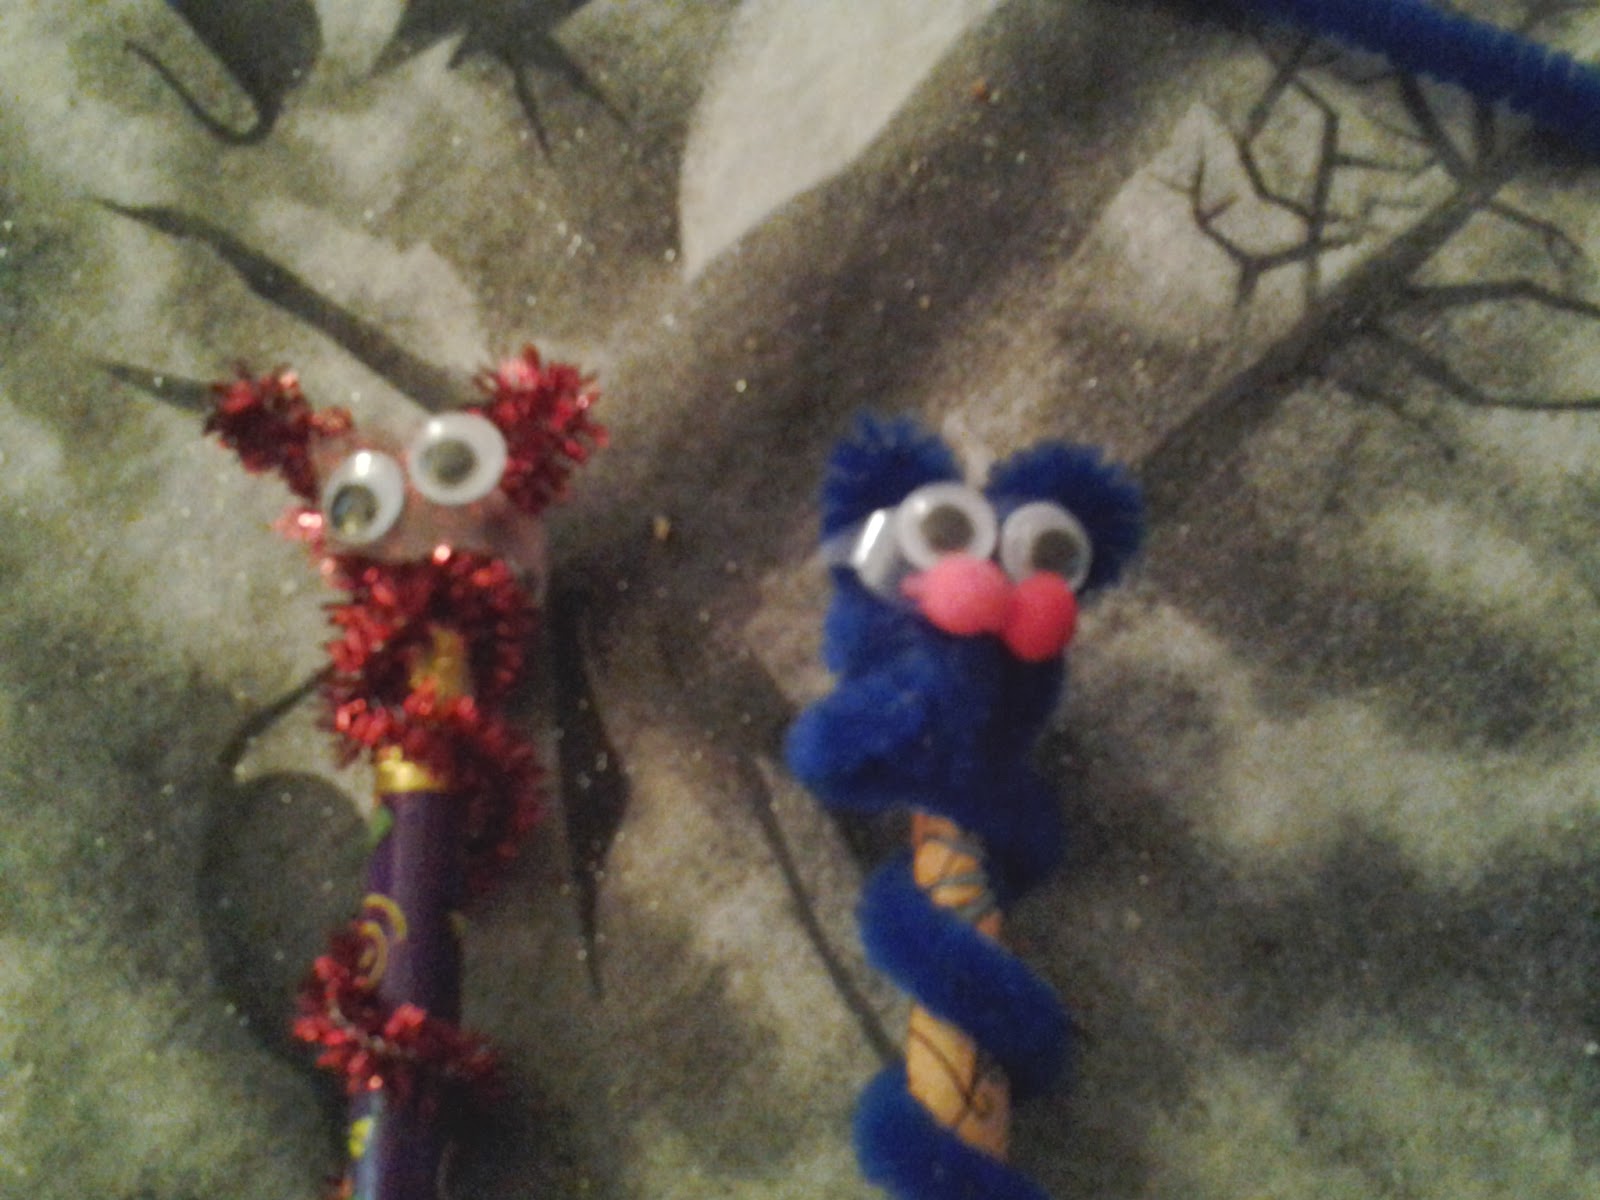
Materials
- Pencil
- Pipe Cleaner
- Glue or double sided tape
- Small Googly Eyes
- Small pom poms
The boys picked out which color of they wanted their cat to be. We briefly talked about favorite colors while choosing. Then I wrapped the pipe cleaner around the pencil a couple times bent the middle of the reaming into two ears then scrunched the remaining in the middle to fill in the head. Last we taped on googly eyes and pom poms and had a cat pencil topper for the week.
Science
(As I wrote the word science I let our an evil scientist laugh 'Bwahahahahaha')

Our science this week was mixing colors! Man on man did the boys enjoy this activity. I got out the paint and zip lock bags and of course they are following me around asking what we are going to do next while I gather the supplies. I like to be prepared and present them with the project. This rarely happens. I have curious kids.
Once I had the supplies I asked each boy to pick out two colors. I did not stick to primary colors I let them choose whichever colors they wanted.
Then they helped squeeze some paint into the bags. 1 color on each side. This brought on giggles and questions.


Yellow and Pink are Little Dragons
Red and Blue are Isaiah's
Why is there paint in the bag?
What is going to happen?
Both of these were great questions. I asked them what they thought. It was hard for them to get out an answer with all the giggles and prancing with excitement. The answer I got was "we are going to paint."
I told them we were going to play with the paint. I finally got them on their bottoms and handed them their sealed bags of paint. I told them to mix the colors with their fingers.


It was cool to the touch and neat to watch the paint squish away from your finger. They played with it for awhile. I took this time to ask them what they thought would happen if they colors touched. Isaiah was quick to take the invitation and pushed his colors together. Little Dragon took his time observing the movement of the paint with his hand. Obviously much more interesting to him. Eventual they both took to shaking their bags to mix up the colors.


You can see in the middle of the bag the red and blue made purple.

It is hard to see the color mix on this bag but on the left side of the bag it looks like a light orange.

Other
Little Dragon made some art with Halloween stamps. They were very colorful to which of course we talked about. It didn't entertain him long though.


Upon Hulk arriving he crushed the cake under his mighty weight.

Little Dragon also enjoyed having his Aunt in town during his birthday .

A gift his Aunt bought him and Athena for their birthday.
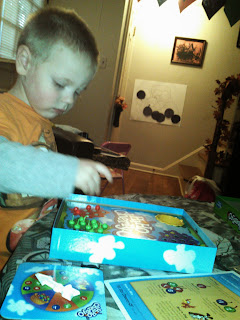
Hi HO Cherryo.
It was a favorite of ours when we were little. Kinda neat to play one of my childhood favorite games with my kids.
Do you play your favorite game with your kids? I would love to know what games you play!
Comments
Post a Comment